As previously announced the middle row of the “Billy library” had to be shortened to certain height. I did the shortening not by myself even if I have a circular saw. It is important that the side walls and back walls of the bookcases are all shortened exactly to the same length. Therefore, I packed the appropriate parts in the car and drove to the local hardware store. There, the cutting of foreign goods is offered for small money on a professional saw. The result is that the sidewalls and back panels will all have the same dimensions.
I cut the bookcases to a measure so that two small Billy Oxberg doors fit over each other. The “cover”, ie the chipboard at the upper end must be taken into account when you take the measure.
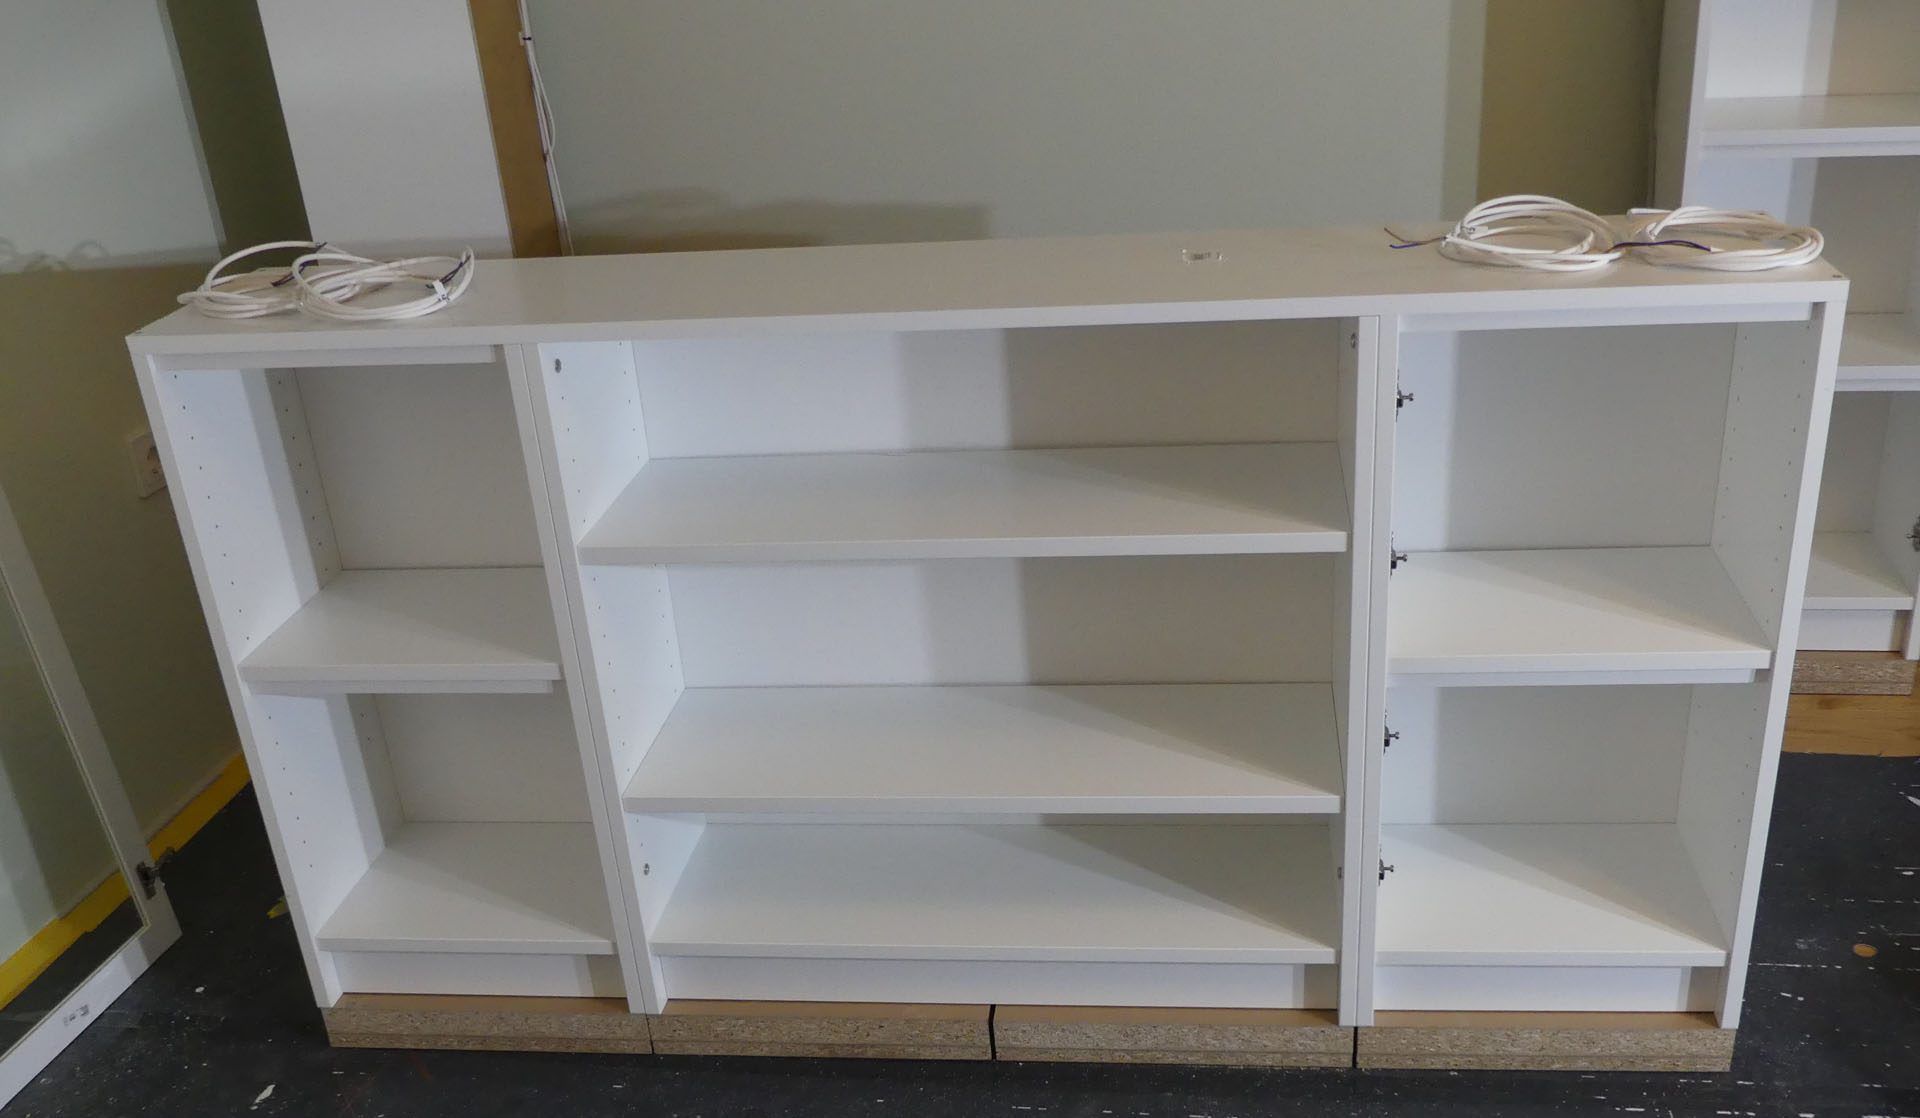
The assembly was no big deal and quickly done. Two doors were mounted as a test to check the dimensions.


Finally a cut to size white chipboard was mounted as a “lid” and also the lighting was installed according to the known scheme.The middle compartment is not illuminated because the multimedia installation is planned to sit there and the devices should not be enlighten.


The whole thing put in place. So you can already imagine … how all will look alike…

Before the bookcases can be connected to each other the positions of the switch boxes (for multimedia inserts) must be documented, as the holes in the back wall of the bookcase are to be created precisely to match the switch boxes that are already inside the wall. Only three dimensions are needed for this. The middle of the first box and the respective heights of the centers from the floor. With the laser the center of the box is projected onto the wall and marked with a pen. The laser is later reoriented to this mark. Then only the heights have to be transferred to the rear wall. The distances between the device boxes to each other are standardized, so that with a template and subsequent drill with the appropriate diameter the cutouts can be created.


Thereafter, the individual cutted bookcase elements can be interconnected with furniture connectors. The following tools / material are helpful for this:
- furniture connector (here M6)
- Cordless Screwdriver
- Drill
- Single-hand clamps for fixing the carcasses
- Laser to align all shelves to each other


As seen above, the laser greatly simplifies long-range alignment, especially with multiple components. After all the overall construction is 5.20 meters long. The laser line is measured and finally the body edges of the bookcases are aligned to the laser line. Thereafter, the edges of the bookcases are all aligned.