The Ikea Billy Project

Do it yourself
  • Home
  • About the Ikea Billy project
  • The Planning
  • Step 1
  • Step 2
  • Step 3
  • Step 4
  • Step 5
  • Step 6
  • Step 7
  • Step 8
  • Step 9
  • Step 10
  • Step 11
  • Step 12
  • Step 13
  • Final result and conclusion
  • Youtube Channel
  • Imprint
  • General Data Protection Regulation
  • Search

The Ikea Billy Project

  • Search
  • Home
  • About the Ikea Billy project
  • The Planning
  • Step 1
  • Step 2
  • Step 3
  • Step 4
  • Step 5
  • Step 6
  • Step 7
  • Step 8
  • Step 9
  • Step 10
  • Step 11
  • Step 12
  • Step 13
  • Final result and conclusion
  • Youtube Channel
  • Imprint
  • General Data Protection Regulation

About the Ikea Billy project

It all starts with an idea. An idea, a fleeting thought that in time manifested itself in a well-crafted plan. If you’ve found this place inside the web, you’ve probably been looking for inspiration ...

read more »

The Planning

The plan consists of many sub-plans Pre-planning is the most important thing for a successful project. For me the phase of planning also takes quite a long time, sometimes just as long as the actual workmanship ...

read more »

Step 1- Beginning of Construction

It started with the middle part, which is framed red in the sketchup model. That for several reasons. On the one hand the Billy extensions do not have their own floor and on the other hand special requirements ...

read more »

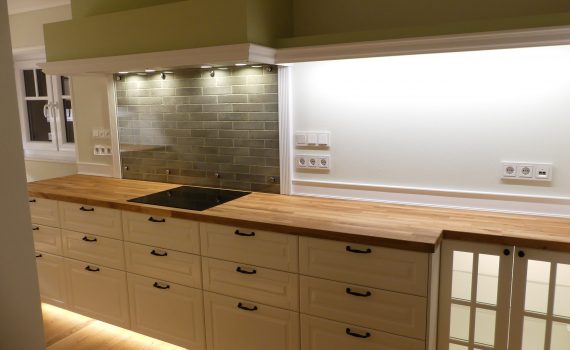
Visit the website about the Ikea Kitchen in the classic style. My latest DIY project: www.ikea-kitchen.de  

New Project Child Website available – Ikea Kitchen DIY!

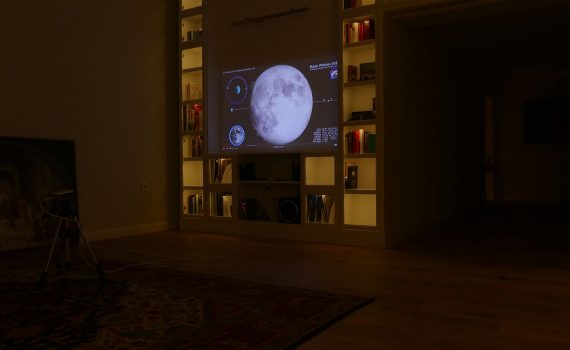
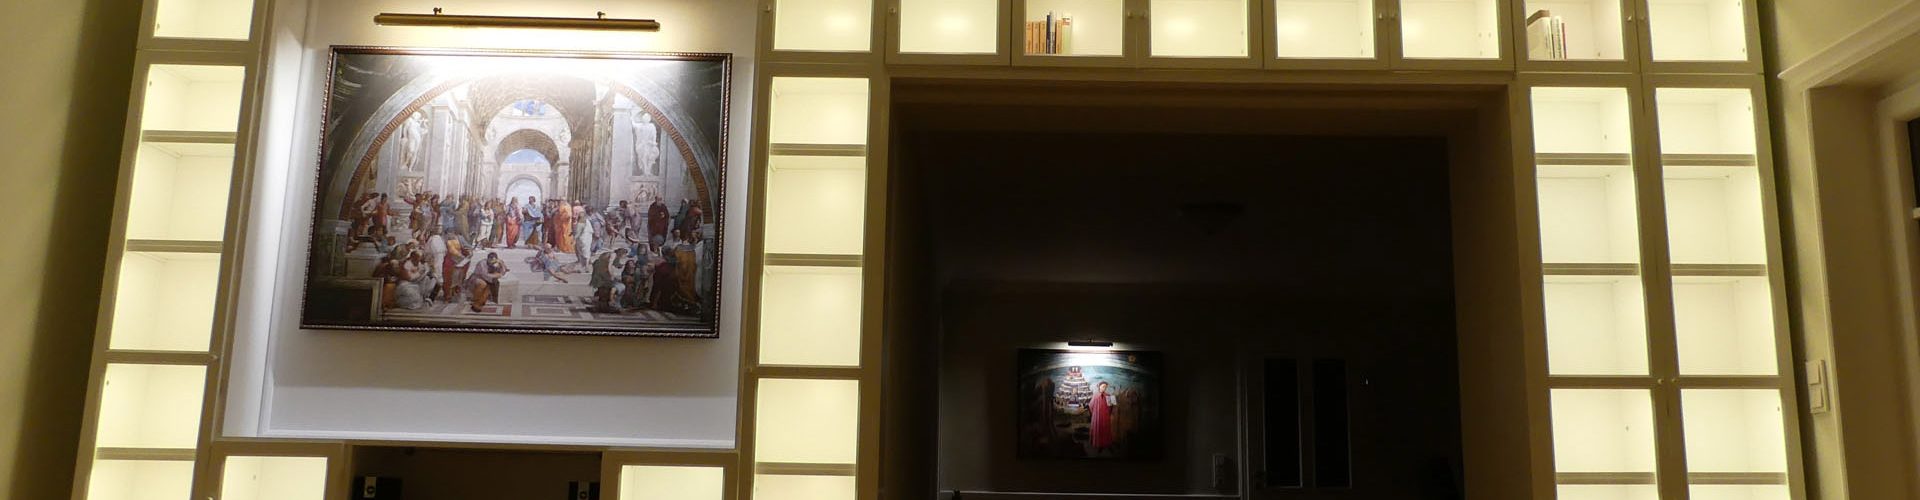
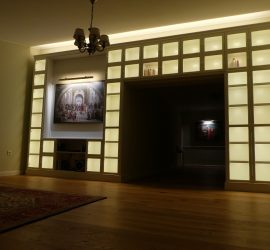
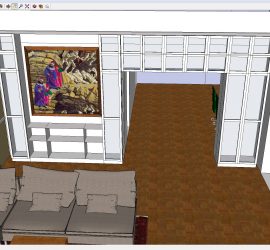
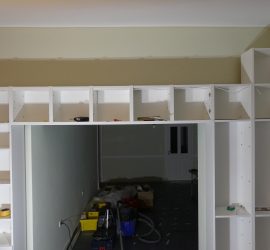
Wachting Movies with the Ikea Billy Project ? ? Take the picture from the wall and start watching your movies on an 67,8 inch screen. A desk in an opposite corner of the room acts as control panel from which audio and video data are transmitted. Read more about the multimedia options […]

Wachting Movies with the Ikea Billy Project

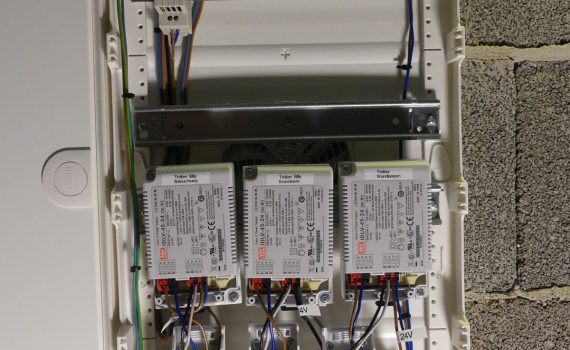
New Video added! The distributor board can be seen as the heart of the light installation. The installation inside a distributor board let all look very clean. A key feature is the batteryless ? remote. Never worry about empty batteries. Read more about the used components here.

New Video available

  • DeutschDeutsch
  • EnglishEnglish

Please follow & like us :)

Facebook
Facebook
YouTube
  • DeutschDeutsch
  • EnglishEnglish
Facebook
Facebook
YouTube
Table of Content
  • About the Ikea Billy project
  • The Planning
  • Step 1- Beginning of Construction
  • Step 2 – increasing the height of the Billys
  • Step 3 – Setting up the middle part and prepare it for lighting
  • Step 4 – Installing LED lighting
  • Step 5 – cutting the Billys
  • Step 6 – Creating the back wall
  • Step 7 – wiring and installing the distributor board
  • Step 8 – Suspension of the free-floating bookcase row
  • Step 9 – installing the Baseboard
  • Step 10 – building and installing the cornice
  • Step 11- installing the lightning of the cornice
  • Step 12 – installing the picture light
  • Step 13 – installing Multimedia sockets
  • Final result and conclusion
  • Youtube Channel
  • Data Protection – General Data Protection Regulation
  • Imprint

© 2023 The Ikea Billy Project – All rights reserved

Powered by  – Designed with the Customizr theme

We use cookies to ensure that we give you the best experience on our website. If you continue to use this site we will assume that you are happy with it.OKDenyGeneral Data Protection Regulation
Withdraw Cookies