Particular attention is paid to the lighting of the library. A chic lighting can make an average piece of furniture a real eye-catcher. Planning the lighting has taken a lot of time in the form of considerations and tests. No less work intensive was the execution of the planning since almost every single element is illuminated. The choice felt on self-made LED strips from the Polish manufacturer NEONICA.
To be more precise of an LED strip type 3528-300 in 24V in the light color warm white with 4.8 watts per meter. I had had good experiences with the manufacturer during the light installation of my kitchen. For the food sector or as single lighting LED strips with over 1700 lumens per meter and a CRI of 95 are available. The quality of the LED strips and LEDs used are at a high level. Throughout copper interconnects are used, they offer LED strips with high color rendering index (CRI) and the information is consistent (no goods from Far Eastern production). The light colors may vary slightly depending on the production batch. Therefore, the LED strips for a project should always come from one batch (reordering may be critical in terms of light color). Ordering via the Neonica webshop is uncomplicated, delivery via UPS is very quick. The Led strips are supplied on small rolls (usual is a 5 meter roll).

I always prefer 24V strips to 12V strips, as the higher voltage allows larger wiring paths without too much voltage drop but more on that later.
It is important to think in advance about the overall installation. You should think about what LED profiles you want to use and other thigs. Samples should be ordered so you can test everything.
The following is required for the assembly and assembly of the LED strips:
- LED strips (you can cut them every 10 cm).
- Temperature-controlled soldering station, flux, good solder.
- LED profile (here profile SK with cover HS opal).
- Line H03VV-F 2×0.75 white (here about 70 meters).
- Cable duct Kleinhuis Mini channel pure white 9.5×10 mm LCD86.3 – (here about 6 meters).
- Light curtain in the form of a plastic angle profile 20/20 (here approx. 17 meters).
- Electrician’s tools like wire stripper, cable cutter, …
- Heat shrink tubing and hot air blower.
- Cordless screwdriver, drill bits (wood and metal), countersinks, screws.
- measuring stick
- Double-sided adhesive tape and label tape.
The rest is diligence. First it is recommended to make a plan with which cable you start ( consider aspects like each length of the supply line, distance between the LED strips to each other). As you can see in the following picture there are some through-cablings (marked in yellow). They must be made particularly carefully so that the individual LED strips later actually sit centrally. For that I draw myself a template on a worktop to work quickly. All red arrows represent single cabling where only one LED strip is soldered at the end.

When making the LED strips you should work conscientiously. The solder joints are first slightly wetted with flux with the flux pen. Using the Stannol X32-10i you can directly solder a short time later and the application is very simple. At a set temperature of 270 ° C small soldering points are placed on the intended positions of the LED strips with the solder. The strands should be tinned and shortened after stripping then the soldering is particularly easy. At the end of each solder joint is shrunk into short piece shrinking tube.
You can also have a look on my video, how to solder the LED Strips:


If everything is chosen in a uniform color, the final result looks quite appealing. Already after completion of an assembly the finished cable should be labeled so you do not lose track of it later. A labeling device / label printer is particularly helpful. If you do a lot of house installation yourself (network, satellite, electrical …) you’ll be happy about a label printer that handles almost all kinds of labels. The device pictured here is also quite cheap – I do not want to miss it anymore.


After assembly the cable strands are installed with the LED strips. At the bottom of the picture you see one of the long through cabling for which the holes were previously made.


Finally the blind profiles and the LED aluminum profiles must be cut to length. I have built a length stop on a chop saw base. It is advisable to carry out all 42 cuts in succession. Thus 42 angle profiles with 362 mm and 42 LED profiles with 110 mm length were cut to size. In the case of the LED aluminum profiles two holes were made after cutting to length which were then lowered a little further.


Installation of the light aperture
For the installation of the light aperture the measuring slide is adjusted to the required distance. For example, all the light apertures have the same distance to the front edge. The LED profile always sits in the middle of the bookcases. The double-sided adhesive tape is attached to the white plastic profile and the LED aluminum profile. This is only for temporary fixation. The profile can be precisely plotted using the calliper. Then the two profiles are drilled into the chipboard with a 2 mm wood drill bit and both profiles are screwed tight with suitable screws. The adhesive tape on the back of the LED strip can then be removed and the LED strip glued into the profile.


The next step is to cut the cover for the LED profile to size (do not cut along with the profiles on a chop saw the hard-plastic covers would then flake off in various places uncontrolled). With a shearing for example the cover (here HS opal) can be cut very well. The covers also minimize dot formation and scatter the light more evenly. The cutted cover is clicked into the aluminum profile – the result after all the work looks already pretty good.


The LED profile is therefore not only used to cool the LEDs although this effect can increase the lifetime of the LEDs especially with very high-performance LED profiles. It also serves to fix the LED strips and the cover acts as a diffuser. After the wiring has been complete, the mini cable duct is installed as optical termination and for fixing the connection cable. After that the installation looks pretty neat.

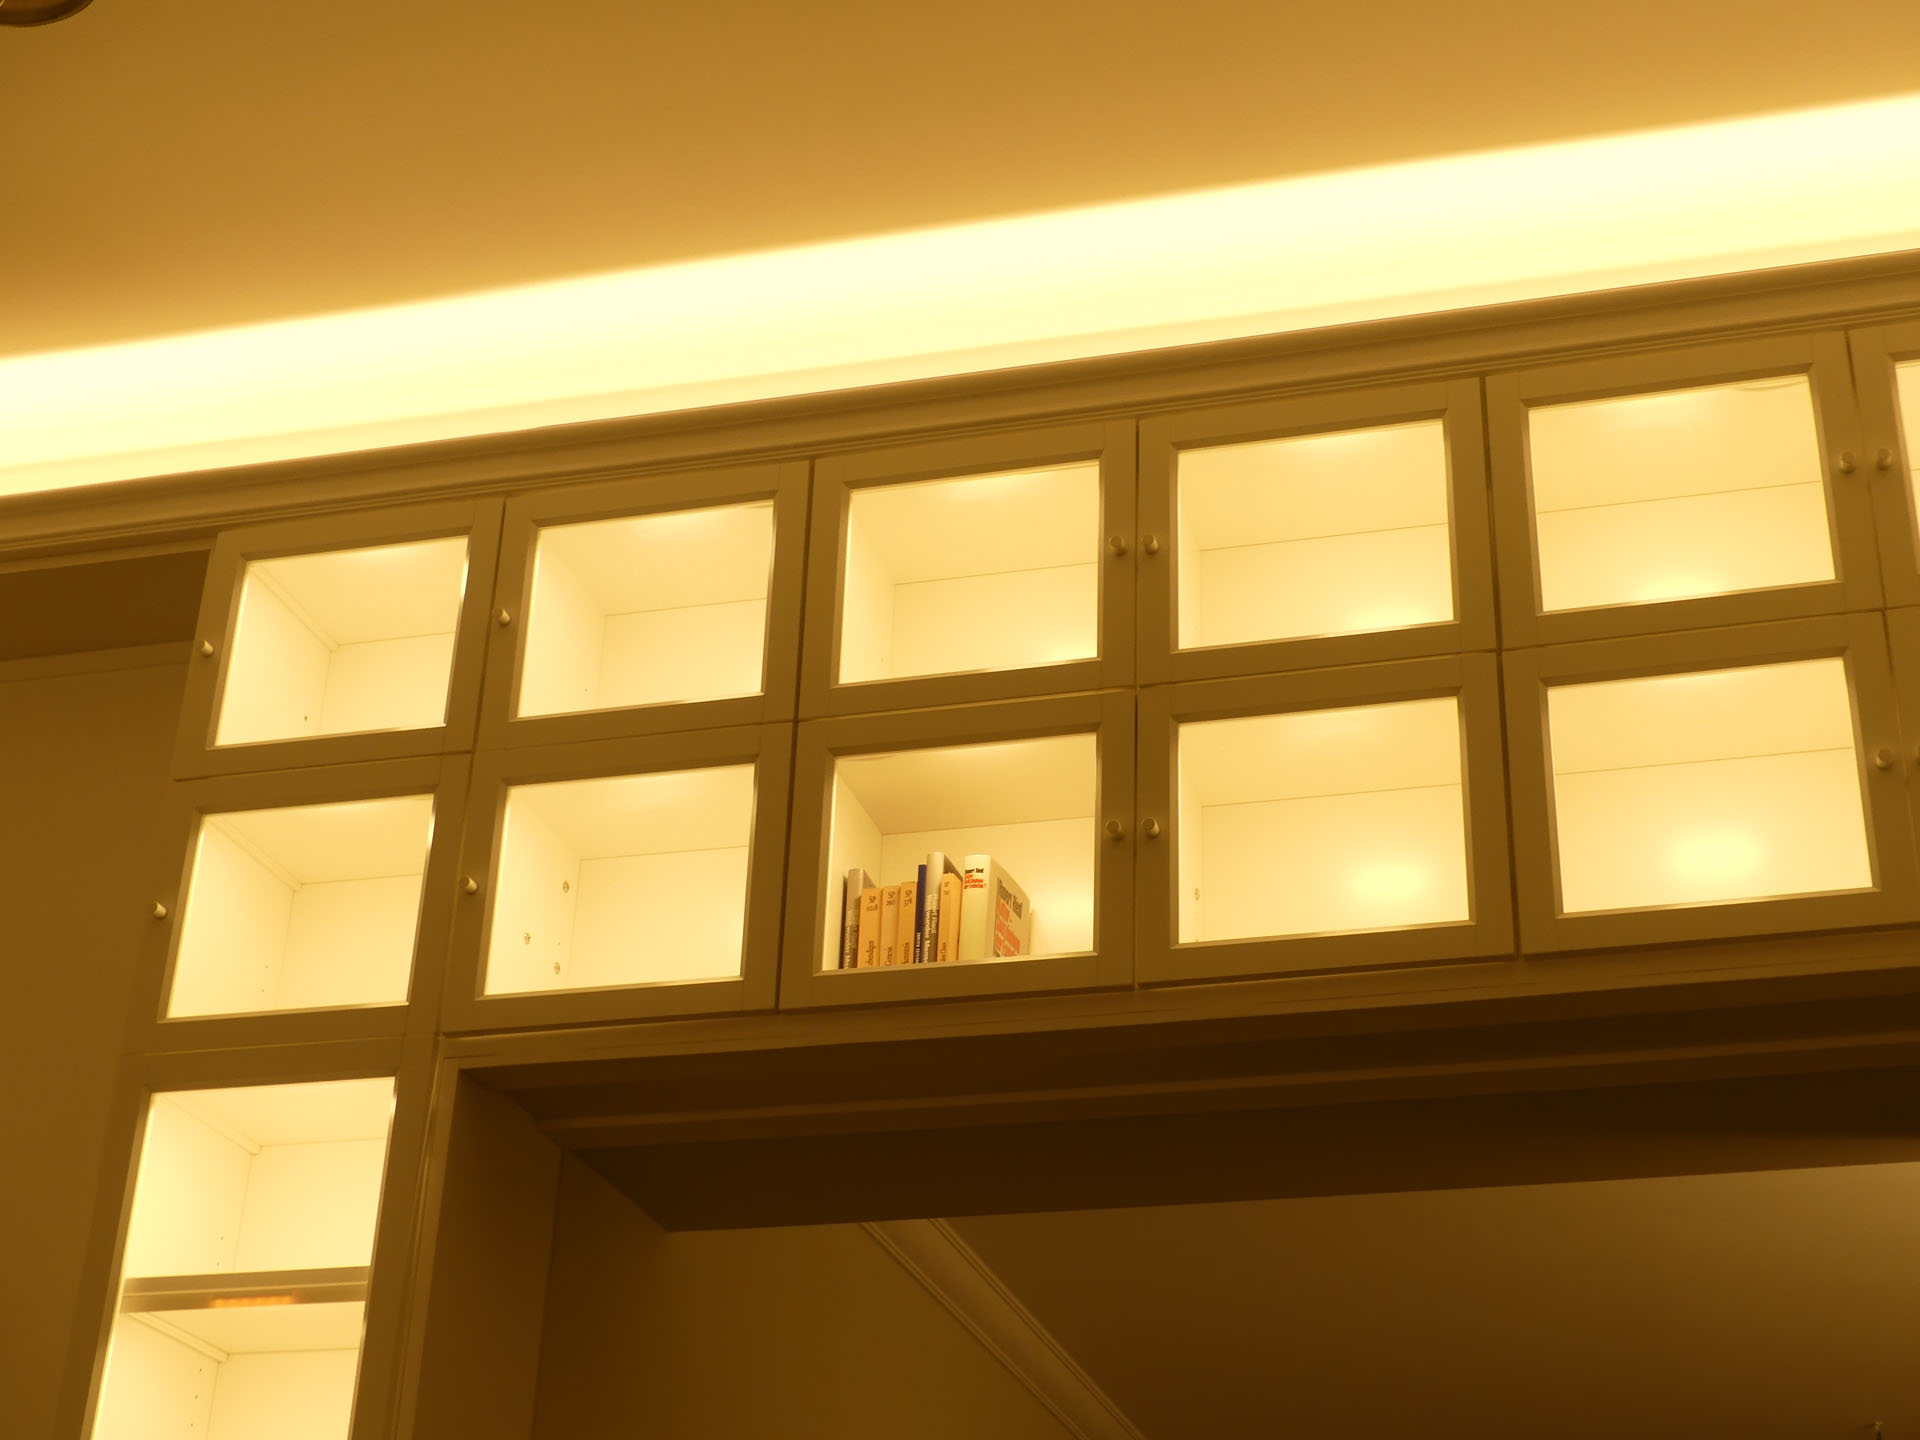
A test of the installation is necessary before final cable laying (of course it was also tested after each finished assembly). In the following picture some bookcases were already wired and were illuminated. What is nicer than finally seeing why you do all this work.


After completion of all installations and successful testing of the installed lighting the cables are fixed on the back of the respective bookcase elements.


