The Ikea Billy Project

Do it yourself
  • Home
  • About the Ikea Billy project
  • The Planning
  • Step 1
  • Step 2
  • Step 3
  • Step 4
  • Step 5
  • Step 6
  • Step 7
  • Step 8
  • Step 9
  • Step 10
  • Step 11
  • Step 12
  • Step 13
  • Final result and conclusion
  • Youtube Channel
  • Imprint
  • General Data Protection Regulation
  • Search

The Ikea Billy Project

  • Search
  • Home
  • About the Ikea Billy project
  • The Planning
  • Step 1
  • Step 2
  • Step 3
  • Step 4
  • Step 5
  • Step 6
  • Step 7
  • Step 8
  • Step 9
  • Step 10
  • Step 11
  • Step 12
  • Step 13
  • Final result and conclusion
  • Youtube Channel
  • Imprint
  • General Data Protection Regulation
Home » Allgemein » New Project Child Website available – Ikea Kitchen DIY!
Allgemein

New Project Child Website available – Ikea Kitchen DIY!

by Neo|Published 30. November 2018

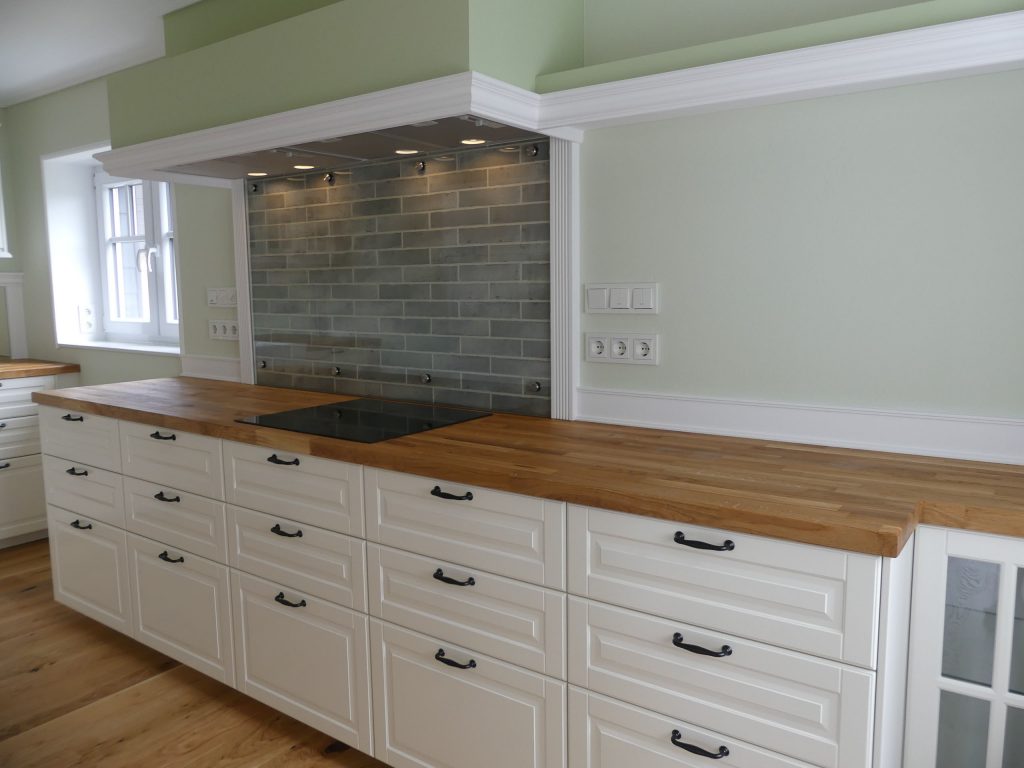
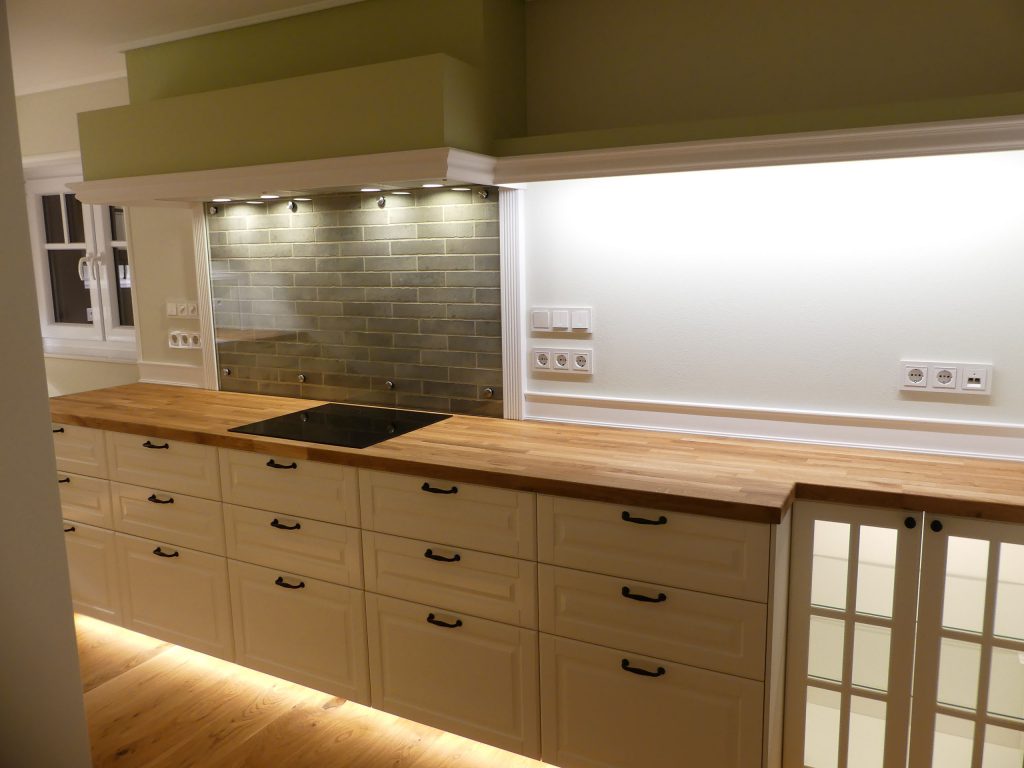
Visit the website about the Ikea Kitchen in the classic style. My latest DIY project:

www.ikea-kitchen.de


You may also like

Published 8. September 2018

New Video available

New Video added! The distributor board can be seen as the heart of the light installation. The installation inside a distributor board […]

Published 8. September 2018

Wachting Movies with the Ikea Billy Project

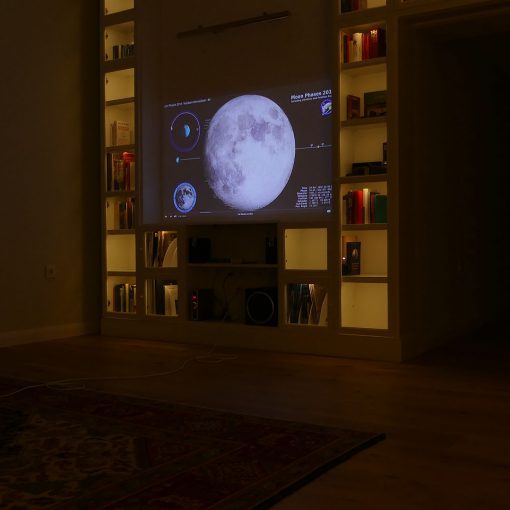
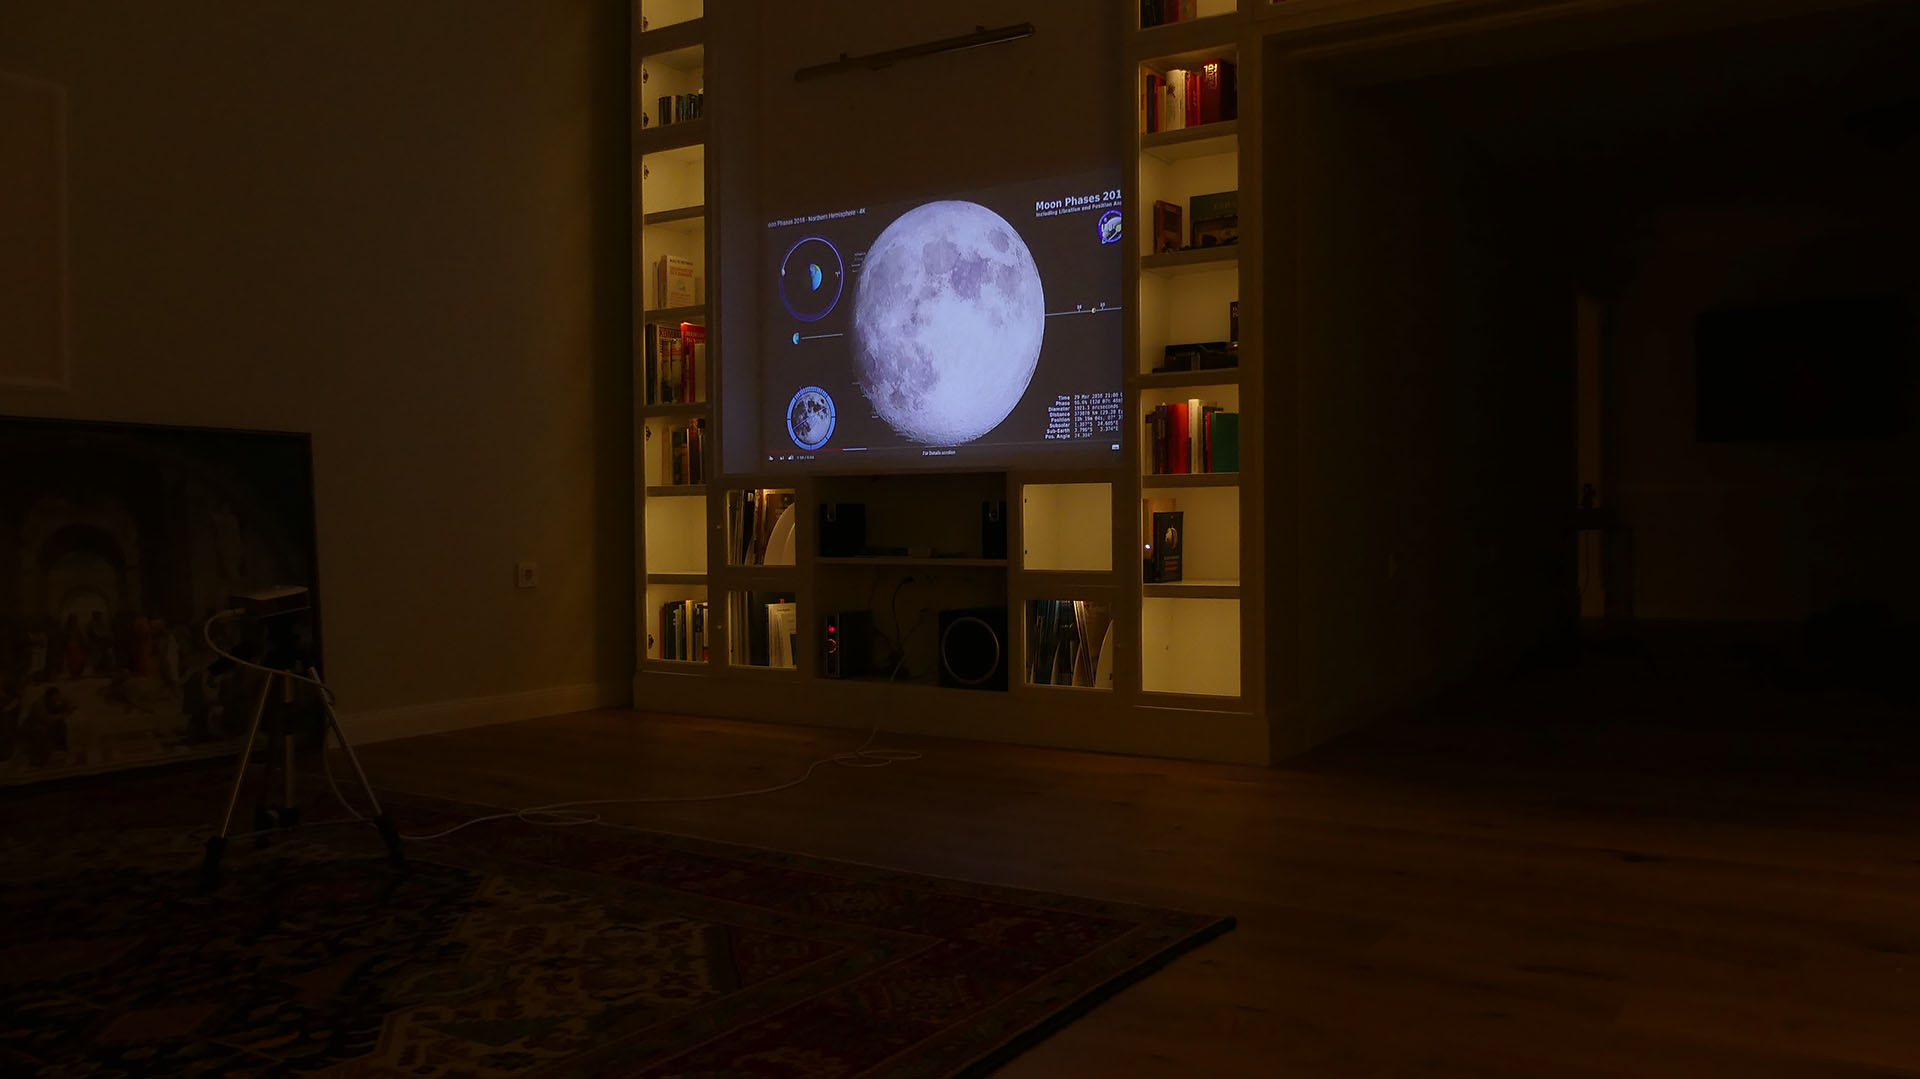
Wachting Movies with the Ikea Billy Project ? ? Take the picture from the wall and start watching your movies on an 67,8 inch […]
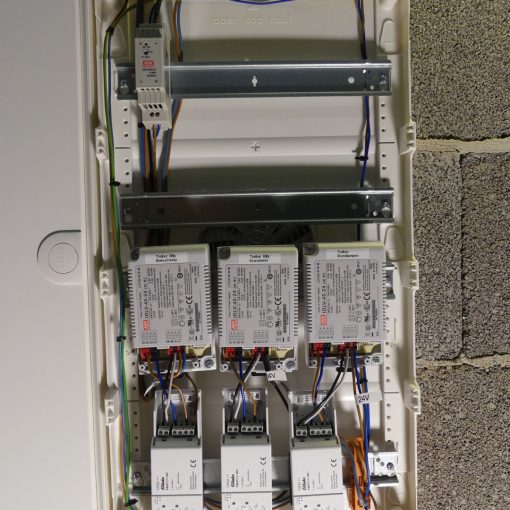
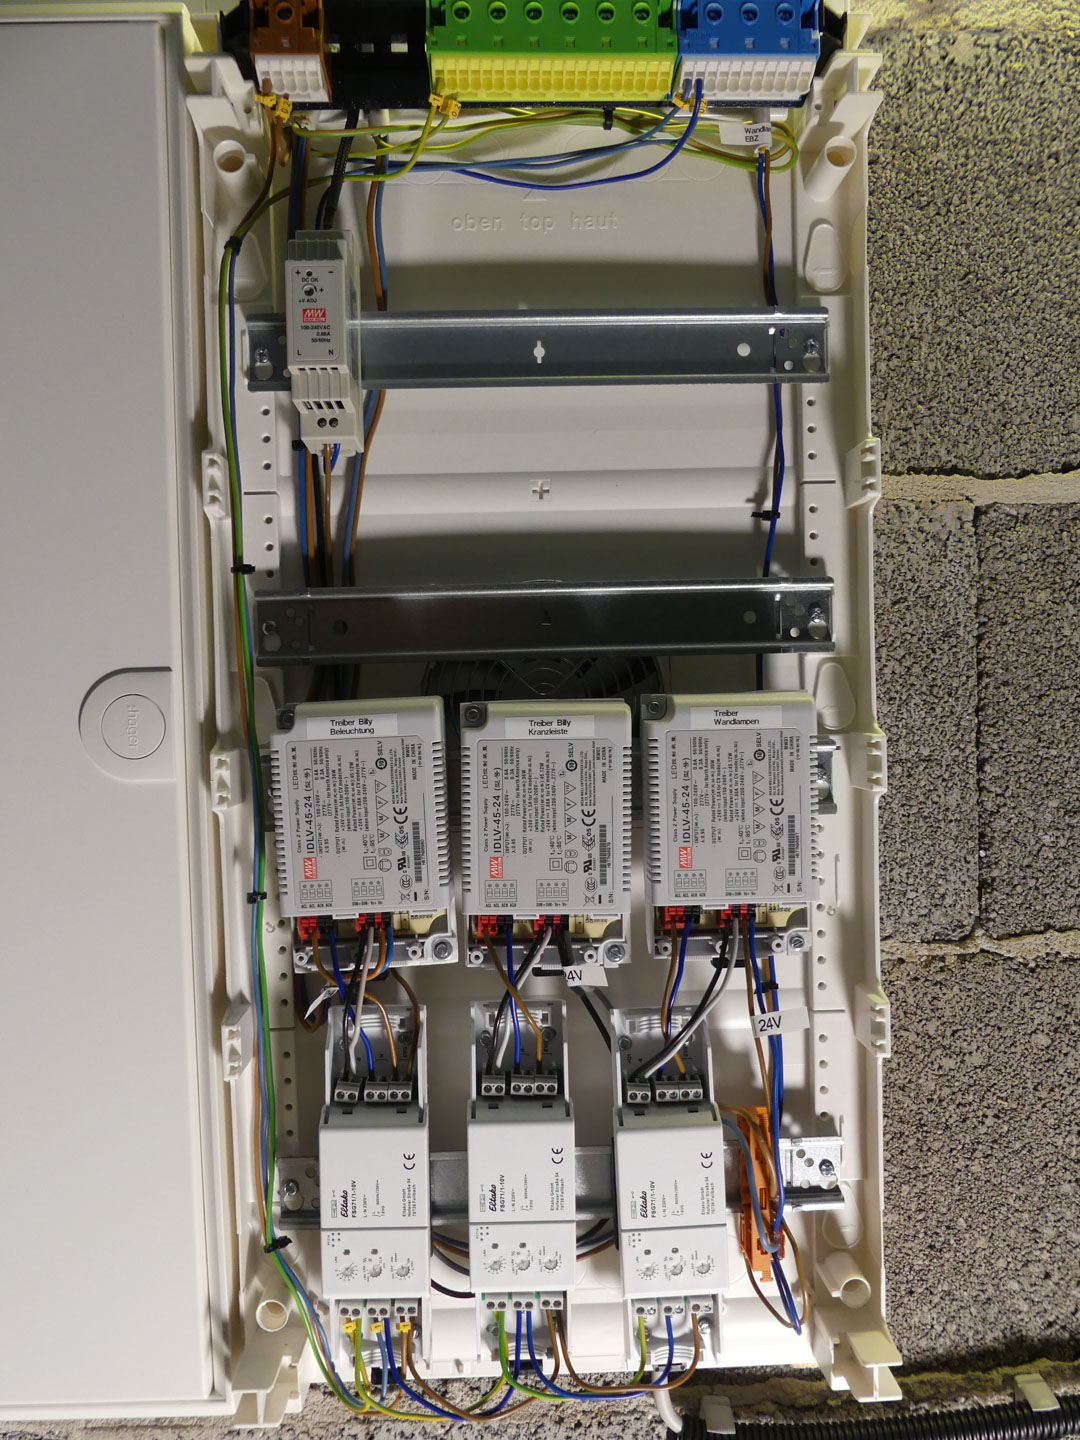
Post navigation

  • Previous post Wachting Movies with the Ikea Billy Project
  • Back to post list
  • DeutschDeutsch
  • EnglishEnglish
Facebook
Facebook
YouTube
Table of Content
  • About the Ikea Billy project
  • The Planning
  • Step 1- Beginning of Construction
  • Step 2 – increasing the height of the Billys
  • Step 3 – Setting up the middle part and prepare it for lighting
  • Step 4 – Installing LED lighting
  • Step 5 – cutting the Billys
  • Step 6 – Creating the back wall
  • Step 7 – wiring and installing the distributor board
  • Step 8 – Suspension of the free-floating bookcase row
  • Step 9 – installing the Baseboard
  • Step 10 – building and installing the cornice
  • Step 11- installing the lightning of the cornice
  • Step 12 – installing the picture light
  • Step 13 – installing Multimedia sockets
  • Final result and conclusion
  • Youtube Channel
  • Data Protection – General Data Protection Regulation
  • Imprint

© 2021 The Ikea Billy Project – All rights reserved

Powered by  – Designed with the Customizr theme

We use cookies to ensure that we give you the best experience on our website. If you continue to use this site we will assume that you are happy with it.OKDenyGeneral Data Protection Regulation
Withdraw Cookies