From the beginning it was clear that a large picture in the niche between the bookcases should find its place. It was also clear that the picture must somehow be staged. After a few experiments with led spots it quickly became clear that they were not suitable for accentuated image illumination – at least not if they only radiate vertically downwards at a small distance from the image (mounting option in the lid of the niche).
So, I came up with a classic picture light. Quickly a matching picture light was found on eBay classifieds but it had its best times behind. The brass picture light had set a thick patina, in addition, the electrical system (lamp sockets and connecting cables) had to be renewed. After the painstaking polishing of all parts at least the brass shone again in the old splendour. After polishing, the lamp was sealed with a special clear coat (Branth’s crystal glaze) for metal, so polishing up will not be necessary in the future.


As you can see in the pictures above, the old lampholders were completely removed and then a new cable was and an LED strip installed. The choice fell to a 5730 300 type in 24V from Neonica with a CRI of 95 (warm white, 1760 lm / m). The high CRI is pleasant to get the correct colors of the pictures. I still had this LED strip from light installation of the kitchen, but it is also perfect for this application.
Finally, it was time for assembly the picture light on the wall. First, the mounting height and thus the hole height was determined. Since the connecting cable is hidden by a lamp arm, this hole was created first. Anyone who wonders how to route a cable through a hole just behind the back wall of the bookcases should have been helped:
In the first step you drill the hole through which the cable is led. Then a piece of fishing line with a round fishing lead tied to the end is lowered from the top of the bookcases behind the wall. Through the hole a “bait needle” is inserted. This is a thin piece of metal with a point on one side and an eyelet on the other side. Interesting here is the side with the eyelet. The eyelet is opened and the needle is inserted into the hole as far as it will go. If you move the line with the lead at the end to the left and / or right from above, the line will soon have contact with the baiting needle. The cord is held laterally to tension to the needle. If you now pull the needle with the eyelet out of the hole, the captured fishing line should be pulled out of the hole with the first attempt (otherwise just try it a few times, it’s very easy). The fishing line is finally attached to the cable of the lamp and the cable is pulled with the fishing line through the hole up on the bookcase top. Unfortunately, there are no pictures of this action – here I was careless.
The laser is adjusted to the height of the holders. The laser line is set to the center of the holes in the brackets.


As the last “final” optical element, I replaced the screws with brass screws a few days after installation (there were no others at hand when assembling), which can be seen in the last picture. Everything should be consistent.
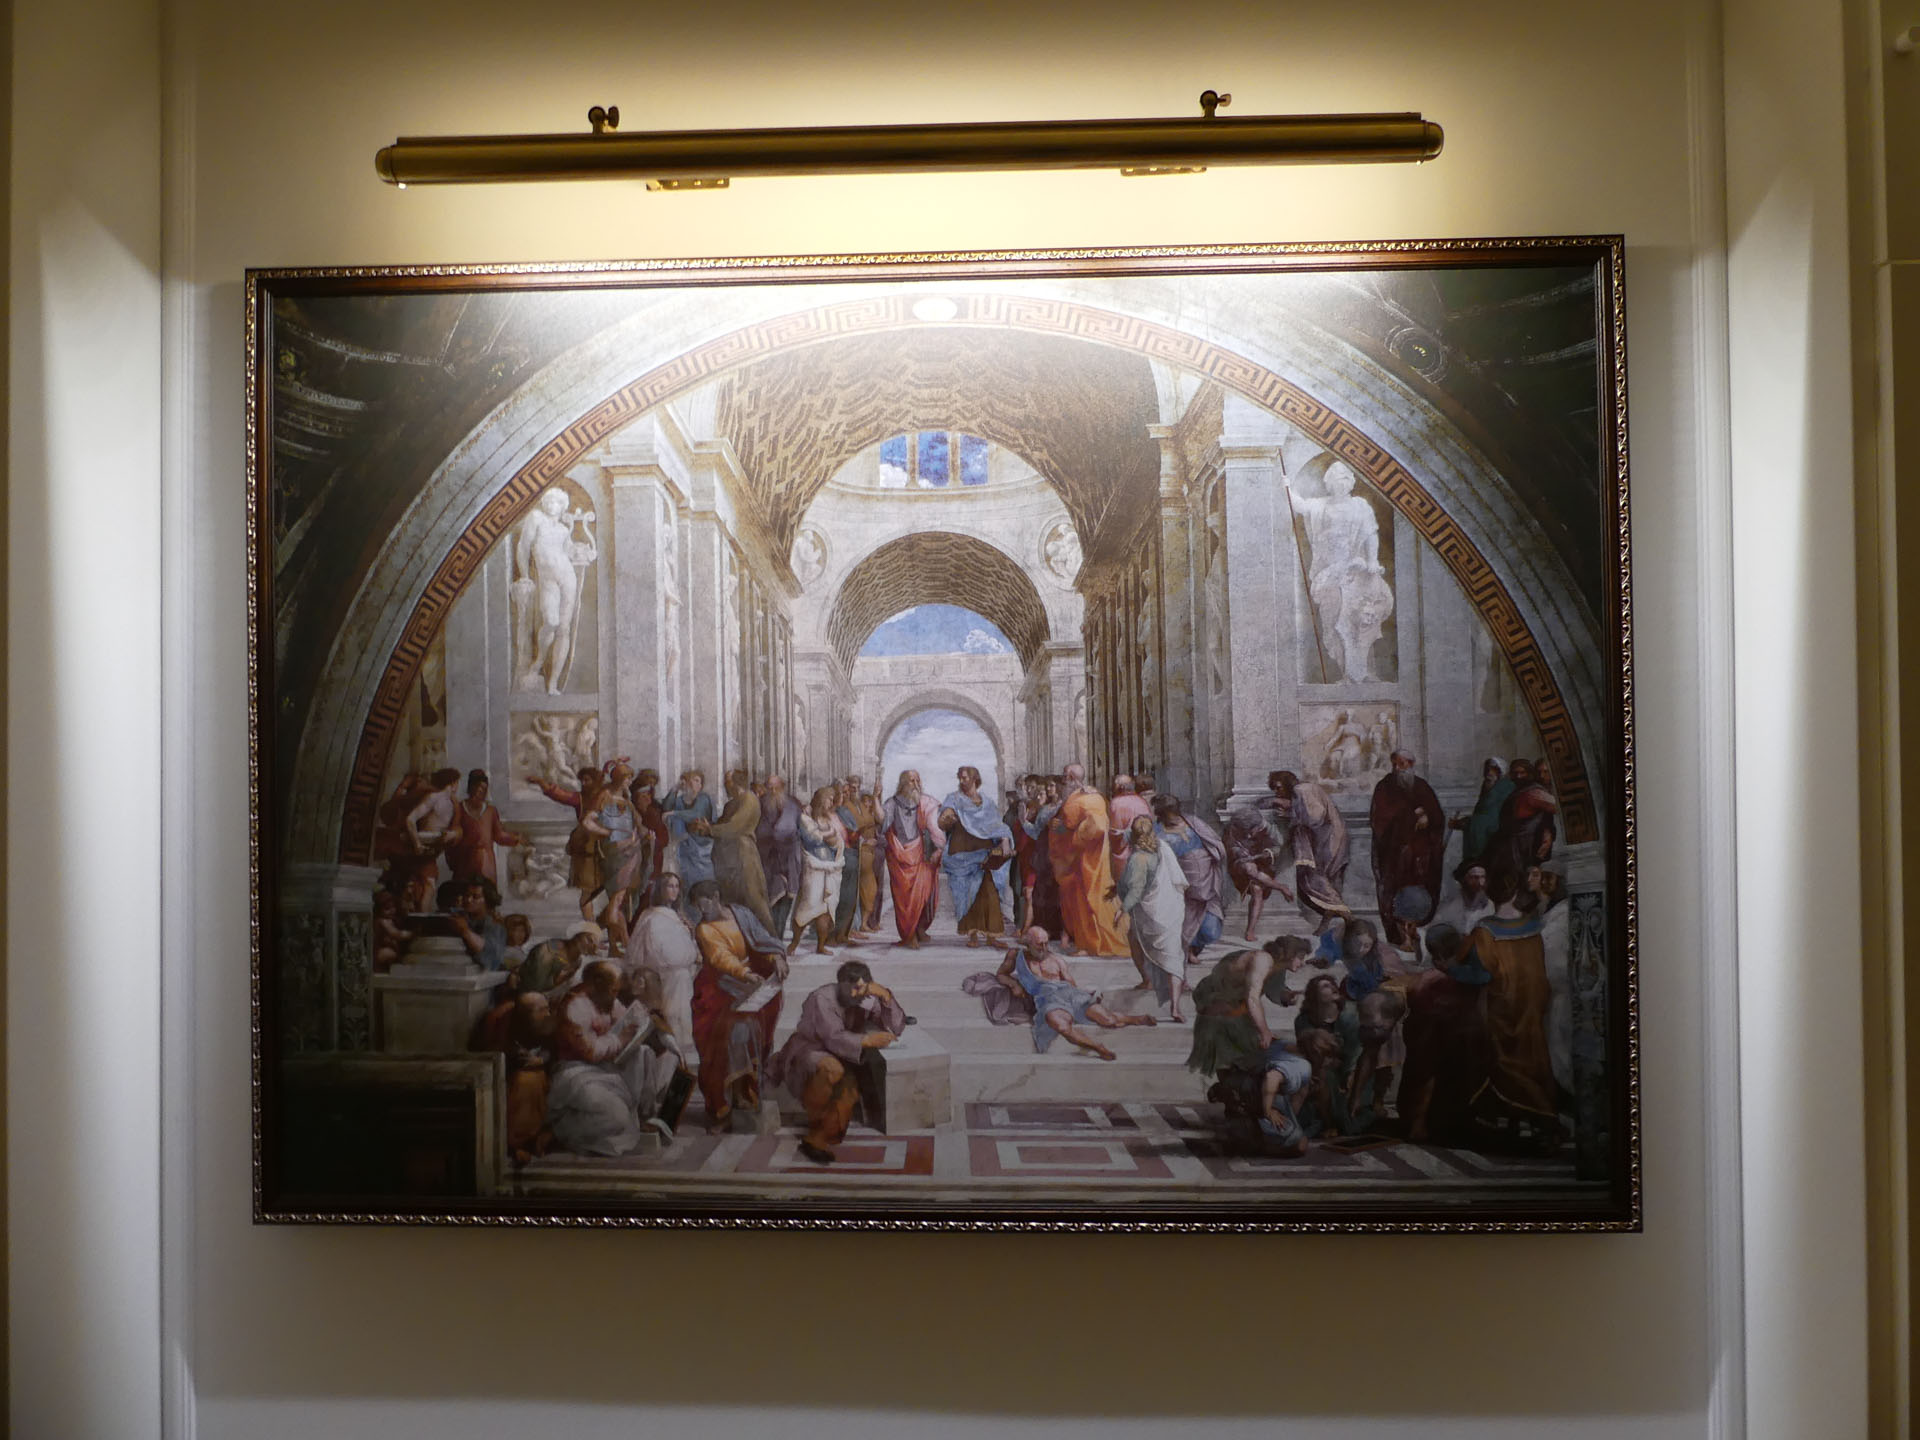
Now only the picture was missing. One or the other mag might have wondered about the picture in the sketchup model. This served only as a place holder. I’ve always been an admirer of the image School of Athens” (La scuola di Atene) by the painter Raphael. Time now seems cheap to give this picture the appropriate environment. I bought the painting on canvas and got a suitable frame for it.


I´m finally really happy with it.